
Can CHKDSK Worsen data recovery on a Failing Hard Drive
Published 2026-09-07 | JiWang Data Recovery Technical Team
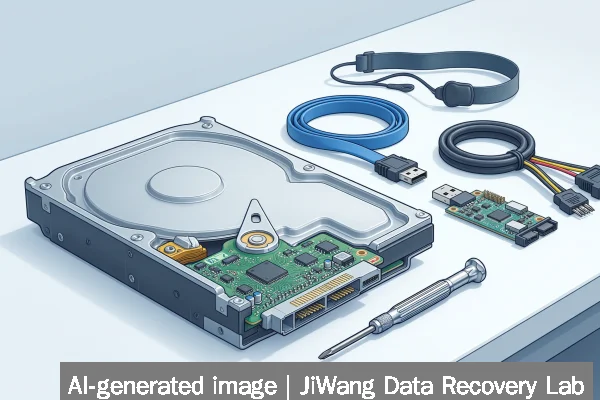
Yes, CHKDSK can make data recovery significantly more difficult on a failing hard drive. It writes directly to the disk’s file system structures—including the Master File Table (MFT) on NTFS or FAT tables on older volumes—to repair inconsistencies. On a mechanically degraded drive—such as one with bad sectors, unstable heads, or growing reallocated sectors—these writes may trigger further read failures, head crashes, or firmware-level instability. If CHKDSK modifies metadata before a full sector-by-sector image is captured, original file locations and unallocated space contents may be permanently overwritten. Stop all write operations immediately. Do not run CHKDSK, format, initialize, or install software on the affected drive. The safest next step is to power down the device and consult a qualified data recovery specialist who can assess whether imaging is feasible without exacerbation.
Symptoms and Risk
A failing hard drive often exhibits observable symptoms before CHKDSK is invoked: slow access times, repeated I/O errors in Windows Event Viewer (e.g., “The device, \Device\Harddisk1\DR1, did not respond within the timeout period”), frequent freezing during file browsing, audible clicking or grinding, or sudden disappearance of partitions in Disk Management. These signs indicate underlying physical or firmware issues—not merely logical corruption. When CHKDSK runs on such hardware, it attempts to read and rewrite critical file system structures. Each retry increases mechanical stress. For example, if the drive has marginal sectors near the MFT, CHKDSK’s repeated reads may cause those sectors to fail completely, rendering directory entries unrecoverable even if file data remains intact elsewhere. The risk is not theoretical: verified cases show that post-CHKDSK drives often lose partition visibility entirely or report “RAW” file systems, narrowing recovery options.
Known Facts
CHKDSK is a Windows utility designed for logical file system repair—not hardware diagnostics. Its behavior is well-documented: on NTFS, it validates and repairs the MFT, bitmap, boot sector, and index roots; on FAT32, it checks FAT chains and root directories. It performs no hardware health assessment. CHKDSK writes changes only when explicitly instructed (e.g., chkdsk /f or /r). Read-only mode (chkdsk without flags) poses minimal risk but provides no repair. Crucially, CHKDSK does not skip unreadable sectors—it retries them up to default thresholds, potentially worsening mechanical degradation. It cannot distinguish between transient read errors and permanent media failure. No version of CHKDSK supports SSD wear-leveling awareness, NVMe namespace management, or RAID parity reconstruction logic.
Possible Causes of Apparent “Fixes”
Users sometimes report that CHKDSK “fixed” a drive because Windows Explorer regains access to files afterward. This outcome typically reflects one of three scenarios: (1) Minor logical corruption—such as a corrupted directory entry or orphaned cluster chain—was repaired without requiring physical reads from damaged areas; (2) The drive’s internal cache or firmware temporarily masked intermittent errors, allowing CHKDSK to complete before failure escalated; or (3) CHKDSK relocated file data to healthy sectors while discarding references to original locations, making files accessible but erasing forensic context needed for deep recovery. None of these imply hardware stability. In fact, drives exhibiting such “recovery” often fail catastrophically within hours or days. These outcomes do not validate CHKDSK use on failing media—they reflect narrow edge cases where damage was not yet severe enough to interrupt the tool’s operation.
Safe Checks
Before any intervention, perform only non-invasive, read-only assessments. Use Windows’ built-in WMIC DISKDRIVE GET Status,StatusInfo,Model,SerialNumber to retrieve basic SMART status—if reported as “OK,” it confirms only that the drive self-reports nominal health, not that it is safe for repair tools. Run smartctl -a /dev/sdX (via Linux Live USB) for raw SMART attributes: focus on Reallocated_Sector_Ct, Current_Pending_Sector, UDMA_CRC_Error_Count, and Seek_Error_Rate. Values above vendor thresholds suggest physical degradation. Check Windows Disk Management: if the drive appears with correct capacity but no volume letter or shows “No Media,” avoid all write actions. Use diskpart only to list disks (list disk)—never clean, create partition, or assign. For SSDs and NVMe devices, remember that TRIM commands and wear-leveling obscure low-level sector mapping; traditional sector imaging may yield incomplete results regardless of CHKDSK use.
Actions to Avoid
Avoid all operations that issue writes to the failing drive. This includes: running CHKDSK with /f, /r, or /x; using third-party “repair” utilities that modify file system metadata; initializing the disk in Disk Management; formatting via right-click or command line; enabling automatic repair at boot; or installing recovery software directly onto the affected drive. Do not attempt RAID resync, LVM repair, or database log replay—these assume functional storage layers and will compound failure. Never open the drive enclosure, apply heat or cold, tap the casing, or disconnect/reconnect power repeatedly. For NAS or server environments, avoid forcing volume mounts or restarting array services. Each action risks irreversible overwrites or firmware lockup.
Data-Preservation Workflow
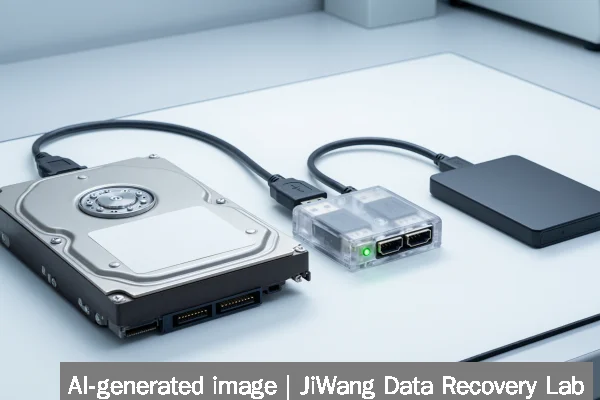
The priority is preserving every readable byte before degradation progresses. First, power off the drive and connect it as a secondary device to a stable host system—preferably via SATA-to-USB adapter with external power, not direct motherboard SATA (to reduce electrical load). Boot from a trusted Linux Live USB (e.g., SystemRescueCD) to avoid Windows auto-mounting. Use ddrescue to create a sector-by-sector image: ddrescue -d -r3 /dev/sdX image.img rescue.log. The -d flag enables direct disk access (bypassing caches), and -r3 limits retries to prevent excessive head movement. Store the image on separate, healthy media. Only after imaging should analysis begin—using tools like testdisk or photorec on the image file, never the original drive. For SSDs, recognize that wear-leveling and garbage collection may limit imaging fidelity; controller-specific diagnostics are required for full assessment.
Frequently Asked Questions
Can I run CHKDSK in read-only mode safely?
Running CHKDSK without flags (e.g., chkdsk C:) performs only verification and reports errors without writing. While safer than repair modes, it still triggers multiple reads across the entire volume—including metadata zones. On a physically failing drive, this can accelerate deterioration. Read-only CHKDSK offers no diagnostic advantage over SMART tools or fsutil fsinfo ntfsinfo, and carries non-zero risk. Avoid unless absolutely necessary for triage—and only after confirming the drive responds consistently to basic commands like dir.
What if my drive is an SSD or NVMe device?
CHKDSK behaves identically on SSDs and NVMe drives from the OS perspective, but the underlying implications differ. SSDs use wear-leveling, over-provisioning, and TRIM, meaning logical sector addresses do not map predictably to physical NAND blocks. CHKDSK’s file system repairs may trigger background garbage collection, causing unpredictable data movement or block erasure. NVMe namespaces add another abstraction layer. Neither technology benefits from CHKDSK’s legacy design. Physical failure in SSDs often manifests as controller faults or NAND wear-out—neither detectable nor repairable by CHKDSK.
Does CHKDSK affect RAID arrays differently?
CHKDSK operates at the volume level, not the physical disk level. On software RAID (e.g., Windows Storage Spaces or mdadm), it sees only the virtual volume—not individual member disks. Running CHKDSK on a degraded RAID volume may mask underlying disk failure by repairing filesystem inconsistencies while ignoring failing members. This delays recognition of hardware issues and risks full array collapse during rebuild. Hardware RAID controllers typically intercept CHKDSK commands entirely; attempting CHKDSK on a RAID volume presented by a controller may return “access denied” or produce undefined behavior.
Is there any scenario where CHKDSK is appropriate before professional recovery?
Only if the drive passes comprehensive hardware diagnostics—including full SMART attribute review, consistent response to hdparm -I or smartctl, absence of unusual noise, and stable performance during sequential read tests—and the issue is confirmed to be isolated logical corruption (e.g., accidental deletion, virus-induced MFT damage, or abrupt power loss on a healthy drive). Even then, imaging first remains best practice. CHKDSK should never precede imaging on any drive showing latency spikes, I/O errors, or SMART warnings.