
What to Preserve Before Recovering Data from an LVM Volume
Published 2026-08-29 | JiWang Data Recovery Technical Team
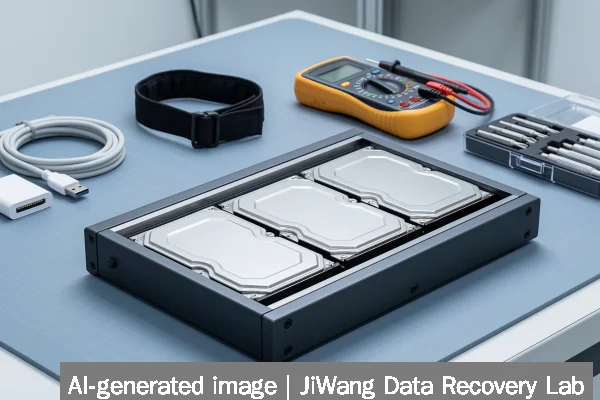
Before attempting recovery from an LVM (Logical Volume Manager) storage volume, immediately stop all write activity to the affected physical volumes (PVs), volume group (VG), and logical volumes (LVs). Any new writes—even from filesystem checks, mount attempts, or system updates—risk overwriting metadata or data blocks needed for reconstruction. Do not run vgscan, vgchange -ay, lvconvert, or fsck unless operating on a verified bit-for-bit copy. The safest next step is to create a full forensic image of each underlying block device (e.g., /dev/sdb, /dev/nvme0n1) using ddrescue or dcfldd in read-only mode, preserving original device states before any analysis begins.
Symptoms and Risk
LVM-related data loss typically manifests as missing or inaccessible logical volumes, “No volume groups found” errors during boot, inconsistent pvdisplay/vgdisplay output, or kernel log messages indicating failed PV scans or corrupted metadata areas. Unlike single-disk filesystem corruption, LVM failure often involves distributed metadata: each physical volume stores a copy of the volume group’s metadata header (typically in the first 512 bytes and near the end of the device), and LV layout information is replicated across PVs. This redundancy improves resilience but also means that partial metadata damage may cause inconsistent or misleading diagnostics. The primary risk is cascading corruption: mounting a degraded LV, running automatic repair tools, or even repeated vgscan invocations can trigger unintended metadata updates or overwrite stale but recoverable structures.
Known Facts
LVM metadata is stored in human-readable ASCII format within reserved areas on each physical volume. By default, each PV reserves two locations: one at byte offset 0x200 (512 bytes in) and another near the end of the device (within the last 2 MiB). Metadata includes timestamps, UUIDs, PE (physical extent) mappings, and LV segment definitions. Logical volumes are built from non-contiguous physical extents, meaning data resides across multiple PVs—even within a single LV. LVM does not store filesystem-level structures; it operates below the filesystem layer. Therefore, recovering files requires both reconstructing LV geometry *and* interpreting the contained filesystem (e.g., ext4, XFS). LVM metadata is not mirrored like RAID; instead, it is duplicated across PVs for redundancy—not real-time synchronization.
Possible Causes
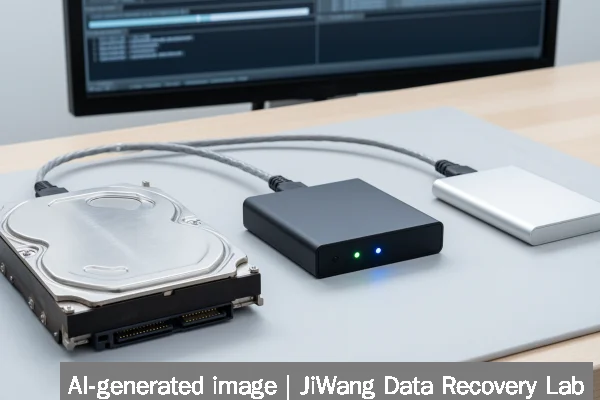
Common causes of LVM metadata loss or inconsistency include abrupt power loss during VG activation or LV extension, kernel crashes while writing metadata, manual editing of PV headers with hex editors, accidental overwrites via dd or disk cloning tools targeting raw devices, and firmware-level drive resets that erase partition table or PV signatures. On SSDs and NVMe drives, wear-leveling and garbage collection may relocate metadata blocks unpredictably, reducing the reliability of sector-based recovery. In NAS or virtualized environments (e.g., QNAP QuTS MEGA or VMware VMs with LVM-backed VMDKs), storage stack layers—such as ZFS pools, Ceph OSDs, or hypervisor caching—can obscure or delay visibility into underlying LVM state changes. RAID controller failures or misconfigured cache policies may also corrupt metadata writes before they reach the PV.
Safe Checks
Safe diagnostic steps require read-only access and no modification of device state. First, confirm device names and sizes using lsblk -f and blockdev --getsize64 /dev/sdX. Then, extract raw metadata copies without altering anything: dd if=/dev/sdX bs=512 count=1 skip=1 2>/dev/null | strings reveals the initial header; dd if=/dev/sdX bs=1M skip=$(( $(blockdev --getsz /dev/sdX) / 2048 - 1 )) 2>/dev/null | strings | head -20 samples the trailing area. Compare outputs across all PVs in the suspected VG. Use pvs -v --config 'global{locking_type=0}' to bypass locking and inspect PV attributes safely. For XFS-formatted LVs, xfs_info /dev/mapper/vgname-lvname is safe only if the LV is *not* mounted and the underlying PVs are unaltered. Never rely on lvmcache or auto-activation features during diagnosis.

Actions to Avoid
Avoid all operations that write to the original devices. Do not run vgcfgrestore unless you have a known-good backup of /etc/lvm/cache or /etc/lvm/cache/.cache—and even then, only after imaging. Never use vgscan --cache, vgchange -ay, or lvscan on suspect volumes without first verifying device integrity. Do not attempt to recreate PVs with pvcreate --uuid or --restorefile unless metadata backups exist and are confirmed valid. Avoid filesystem-level tools like e2fsck, xfs_repair, or CHKDSK on LV devices—these assume intact LV structure and may destroy mapping information. Do not initialize, format, or repartition any device appearing in the LVM stack. On NVMe or Sandisk NAS 800 drives, avoid vendor-specific utilities that perform low-level resets or firmware updates, as these erase metadata regions irreversibly.
Data-Preservation Workflow
A reliable preservation workflow begins with hardware-level isolation: disconnect or power off the affected system, then reconnect drives individually to a clean Linux host booted from read-only media. Identify each PV using fdisk -l and hexdump -C /dev/sdX | head -20 to locate LVM signatures (e.g., “LVM2 x[00][00][00][00]”). Image each PV sequentially using ddrescue -d -r0 /dev/sdX /path/to/image.img /path/to/logfile.log to minimize stress on failing media. Store images on separate, verified storage—not the same array or NAS. After imaging, validate integrity with sha256sum on both source and image. Only then proceed with metadata analysis using lvm dumpconfig --configreport against the image file, or reconstruct LV layouts manually from parsed metadata. For Synology RS826+ or QNAP MEGA systems, preserve bootloader partitions and configuration volumes separately—they may contain VG name mappings or encryption keys required for later decryption.
Frequently Asked Questions
Can I recover data if only one physical volume in a multi-PV volume group is damaged?
Yes—if metadata copies on remaining PVs are intact and the LV layout does not depend exclusively on the failed PV’s extents. LVM allows partial reconstruction when PE mappings are recoverable from other devices. However, if the LV used striping across all PVs and the damaged device held critical metadata headers, full recovery may require advanced carving or filesystem-level reconstruction. No guarantee exists without verified metadata backups.
Is it safe to run vgscan on a live system with suspected LVM corruption?
No. vgscan may trigger automatic metadata updates or activate stale LVs, risking further inconsistency. It also relies on kernel device-mapper caches that could reflect outdated state. Always disable LVM services (systemctl stop lvm2-lvmetad) and use --cache-free modes on imaged devices only.
Does LVM support snapshots help in recovery?
Only if snapshots were preconfigured and remain mounted and uncorrupted. LVM snapshots are copy-on-write and do not protect against PV-level failure. They reside within the same VG and share underlying physical extents—so snapshot data is equally vulnerable to the same metadata loss affecting the origin LV.
What role does drive firmware play in LVM recovery success?
Firmware determines how the drive reports sector status, handles bad blocks, and manages internal caches. On Toshiba S300 AI or Sandisk NAS SSDs, aggressive firmware-level remapping may hide failing sectors from the OS—but also make metadata location unpredictable. Firmware cannot be relied upon to preserve LVM structures across resets, especially after unexpected shutdowns.
Can I use cloud backup tools like Backblaze with LVM volumes?
Backblaze and similar services back up mounted filesystems—not raw LVM devices. If an LV is mounted and accessible, files can be backed up normally. However, such backups do not preserve LVM metadata, PE mappings, or unmounted LV content. They provide file-level recovery only—not structural restoration of the volume group itself.