
Why Image a Failing Hard Drive Before Copying Files
Published 2026-09-06 | JiWang Data Recovery Technical Team
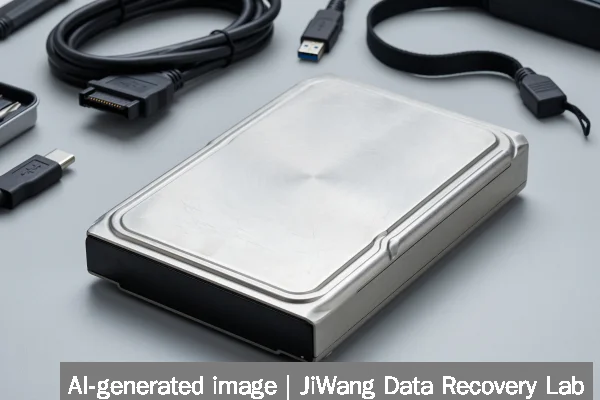
A failing drive poses immediate risk of total data loss with each additional power cycle or read attempt. Physical degradation, firmware errors, or unstable electronics can cause sectors to become unreadable—or worse, trigger cascading failure during file access. Stop using the drive now: unplug it, avoid mounting it in any operating system, and do not run utilities like CHKDSK, Disk Utility First Aid, or RAID rebuilds. The safest next step is to create a sector-by-sector forensic image onto a healthy, equal-or-larger target drive using write-blocked, read-only acquisition tools. This preserves the original state for analysis while enabling safe, repeatable recovery attempts on the copy.
Symptoms and Risk
Common symptoms include repeated I/O errors, disappearing files, slow or frozen directory listings, clicking or grinding noises (HDD), sudden disconnection (SSD/NVMe), SMART warnings (e.g., reallocated sector count >0, media wearout indicator near threshold), or inability to initialize in BIOS/UEFI. These are not just “annoyances”—they signal active instability. Each read operation stresses marginal components. A drive that responds to one file copy may fail mid-transfer on the next, corrupting both source and destination. For SSDs and NVMe devices, background garbage collection or wear-leveling algorithms may remap failing blocks unpredictably during host reads—making partial copies unreliable. In RAID arrays, attempting direct file access from a degraded volume risks triggering automatic rebuilds that overwrite critical metadata.
Known Facts
Imaging is a read-only, bit-for-bit duplication process that captures every accessible sector—including those marked bad by the drive’s firmware but still partially readable. It does not alter the source drive’s contents, firmware, or physical state. Imaging tools use OS-level or hardware-level write blocking to prevent accidental writes. Verified forensic standards (e.g., NIST SP 800-86) require imaging before analysis to maintain evidence integrity. Unlike file copying, imaging preserves slack space, deleted file remnants, partition tables, boot sectors, and filesystem metadata—even when the OS cannot mount the volume. For SSDs, imaging respects TRIM and wear-leveling transparency: it reads logical block addresses as presented to the host, not physical NAND locations, which remain inaccessible without vendor-specific tools.
Possible Causes
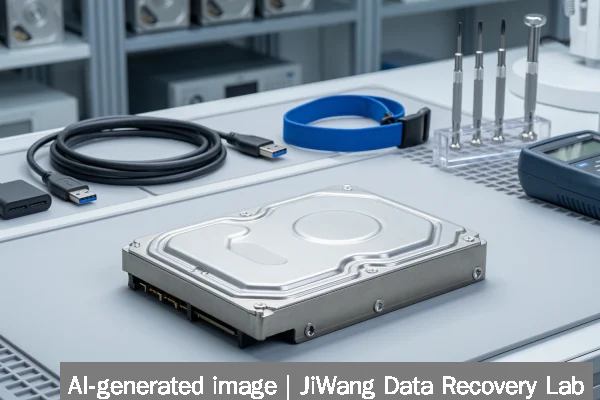
Failing drives result from multiple overlapping factors—not single points of failure. Mechanical wear (e.g., stuck heads, spindle motor degradation) commonly affects HDDs. SSDs face NAND cell decay, controller firmware bugs, or power-loss vulnerability in cached writes. Environmental stressors—heat, vibration, voltage fluctuation—accelerate both. Firmware corruption may manifest as inconsistent LBA mapping or timeout errors. Bad sectors may cluster due to media defects or misaligned writes. In enterprise systems, silent corruption from URE (uncorrectable read error) events during RAID parity rebuilds is well-documented. However, root cause cannot be determined from software logs alone: identical symptoms arise from head crash, PCB failure, or corrupted partition table. Physical diagnosis requires controlled lab conditions and specialized equipment.
Safe Checks
Before imaging, perform only non-invasive checks. Verify drive detection in BIOS/UEFI or macOS System Report—no OS mounting required. Use smartctl -a /dev/sdX (Linux) or CrystalDiskInfo (Windows) to review SMART attributes; focus on Reallocated_Sector_Ct, Current_Pending_Sector, UDMA_CRC_Error_Count, and Media_Wearout_Indicator. Avoid “repair” modes in these tools. Confirm cable integrity by swapping USB-SATA adapters or SATA cables—but only with the drive powered off. For NVMe, check PCIe link width and speed via lspci -vv; downgraded lanes may indicate thermal throttling or slot issues. Never interpret SMART “PASSED” status as operational safety: many failed drives report clean attributes until final collapse. If the drive spins up but disappears after 30–60 seconds, suspect thermal or power regulation failure—do not retry.
Actions to Avoid
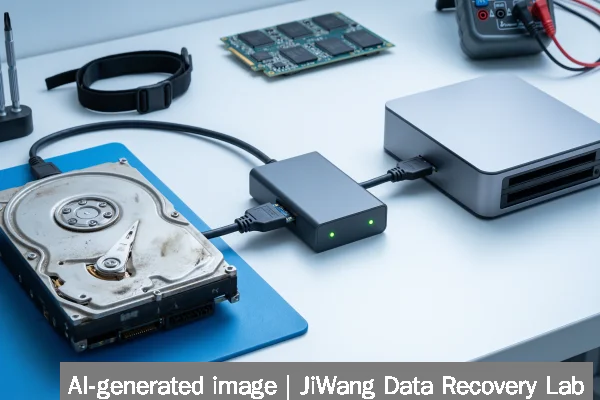
Never initialize, format, or repartition a failing drive. These operations write new filesystem structures and destroy recoverable metadata. Do not run CHKDSK /f, fsck -y, or Disk Utility Repair Disk—these force write operations to repair inconsistencies, risking further corruption. Avoid repeated power cycling: each cold start subjects mechanical components to thermal stress and may worsen head stiction. Do not open the drive enclosure—HDD platters require Class 100 cleanroom conditions; SSD NAND chips are ESD-sensitive and lack user-serviceable parts. Never short pins, flash firmware, or use “fix” utilities promising “automatic recovery.” In RAID or NAS environments, do not initiate rebuilds, expand volumes, or import foreign configurations without first imaging all member disks. For virtual machines or databases, do not attach the failing VMDK or MDF directly to a running hypervisor or SQL instance.
Data-Preservation Workflow
A reliable preservation workflow has three phases: isolation, imaging, and validation. First, isolate the drive—disconnect from all hosts, store in anti-static packaging, and keep at stable room temperature. Second, image using a write-blocked interface (e.g., Tableau TD3, DeepSpar USB3) and verified tool (ddrescue, DCFLdd, or R-Studio’s image mode). Set aggressive retry limits and enable reverse reading for physically damaged areas. Save the image to a healthy, non-RAID target with ≥20% free space for sparse handling. Third, validate the image: compute SHA-256 hash of the image file and compare against a second acquisition (if feasible), then verify filesystem consistency *on the image only* using read-only tools (e.g., e2fsck -n, ntfsfix -n). Never validate by mounting the original drive.
Frequently Asked Questions
Can I image a drive that isn’t showing up in File Explorer or Finder?
Yes—if the drive appears in Device Manager (Windows), lsblk or dmesg (Linux), or System Information (macOS), imaging is often possible even without filesystem recognition. Low-level tools read raw device nodes (/dev/sdX, /dev/diskX) regardless of partition visibility. If the drive fails to enumerate at all (no USB/SATA detection), physical failure is likely, and imaging requires lab intervention.
Does imaging work for NVMe or modern SSDs with encryption?
Imaging captures the logical block layer as seen by the host—so yes, for non-encrypted or ATA Password-locked drives. However, if hardware-based full-disk encryption (FDE) is enabled and the key is lost (e.g., no TPM handshake, forgotten password), the imaged data remains encrypted and unrecoverable without the key. NVMe namespaces and volatile controller states (e.g., active firmware updates) are not preserved in standard imaging.
What if the drive clicks or makes noise during imaging?
Stop immediately. Clicking (often “tick-tick-tick” or loud “clack”) usually indicates head actuator failure or severe media damage. Continuing risks head crash and permanent platter scoring. Power down, document the behavior, and consult a qualified lab. Do not attempt DIY fixes like freezing or tapping the drive.
Is cloud backup relevant here?
Cloud backups help only if they were current *before* failure and stored immutably (e.g., object lock, WORM). They do not replace imaging: restoring from cloud requires functional local storage and assumes no ransomware or sync corruption affected the backup source. Imaged local copies provide faster, offline, version-controlled recovery paths independent of network or third-party service availability.
How much space do I need for an image?
Image size equals the drive’s logical capacity—not used space. A 4TB drive requires ~4TB of target storage, plus overhead for error-handling (typically 5–10%). Compressed images save space but sacrifice random-access efficiency and complicate forensic validation. Always use uncompressed, raw (.img or .dd) format unless toolchain and recovery goals specifically require compression.